
You know what takes longer than making this hummus? Cleaning the food processor after. Seriously. I use two cans of chickpeas so there’s no measuring (but if you are then that’s 3 cups), no soaking overnight, no mountain of dishes, just quick, creamy goodness.
I know canned chickpeas are probably a no no in the hummus world, but trust me, this version is so rich, thick, and fluffy like a cloud, you would be fooled into thinking I soaked the beans for eight hours straight. Just before serving it warm, I suggest drowning it in Aleppo chili oil and a generous dusting of za’atar (hello thyme, sesame, oregano) because I wouldn’t want you to experience anything short of magic if this is the first time you are making this Middle Eastern classic.
Thanks to its rich flavor and nutritional profile, hummus has gone global, but its roots are deeply Middle Eastern. Whether you are enjoying it with warm Khebez Arabi or pita, fresh vegetable crudités, or slathered on a sandwich, you are tapping into centuries of Levantine culinary heritage.
Hummus, which literally means “chickpeas” in Arabic, is believed to have originated in the Levant, a region in the Eastern Mediterranean that includes Lebanon, Syria, Jordan, Palestine, and parts of Turkey and Egypt. In the Levant, hummus is not just a dip but a way of life. It’s a cornerstone of Levantine breakfasts and mezze spreads. This simple and unpretentious dish is delicious, satisfying, heart-healthy, and naturally vegan, vegetarian, dairy-free, and gluten-free. What more could you ask for?
Hummus has an entire family of delicious variations across the Levant. Have you heard of its many cousins? Makhloota combines chickpeas and fava beans with tahini for a hearty dip. Msabaha keeps it rustic with whole chickpeas swimming in a garlicky lemony pool. Hummus Fatteh has layers crispy pita, fried meat, and toasted pine nuts. Qudsiyeh tops creamy hummus with warm fava beans, and Baleela is a comforting bowl of chickpeas simmered with garlic, cumin, lemon and finished with golden pine nuts. Each one offering a range of textures, flavors, and stories that celebrate the richness of Levantine cuisine.
And while I love the classic hummus b’tahini for every day, I often go all in with warm caramelized red onions, a generous spoonful of Dukkah/Duqqa, green fava beans, Aleppo chili oil, and a fresh flat-leaf parsley, mint leaves, spring onions (scallions), and chives salad. When I am serving it for a party or entertaining guests, I layer these toppings generously to create a real wow moment, because presentation is just as delicious as the hummus itself. Have you ever tried Qudsiyeh (Hummus topped with Fava Beans)? Let me know if you’d like to see my take on it!
Classic hummus not your thing? No worries. Check out my favorite flavor-packed variations below, there’s something for every dip mood.
Ingredients For the hummus:
- 2 cans (15 oz. each) / 3 Cups of chickpeas/garbanzo beans, drained and rinsed Set aside 1–2 tablespoons for garnish
- ½ cup tahini, stirred
- ¼ cup lemon, juiced
- 2 garlic cloves, minced
- 1/4 teaspoon ground cumin (optional)
- 1 teaspoon salt, or to taste
- ½ cup aquafaba (the liquid from the chickpea can) or cold water
- 2–3 ice cubes
- ½ teaspoon baking soda* (for boiling, optional)
Garnish:
- Reserved chickpeas
- Chili oil (recipe below) or 2 tablespoons extra-virgin olive oil
- Za’atar for sprinkling
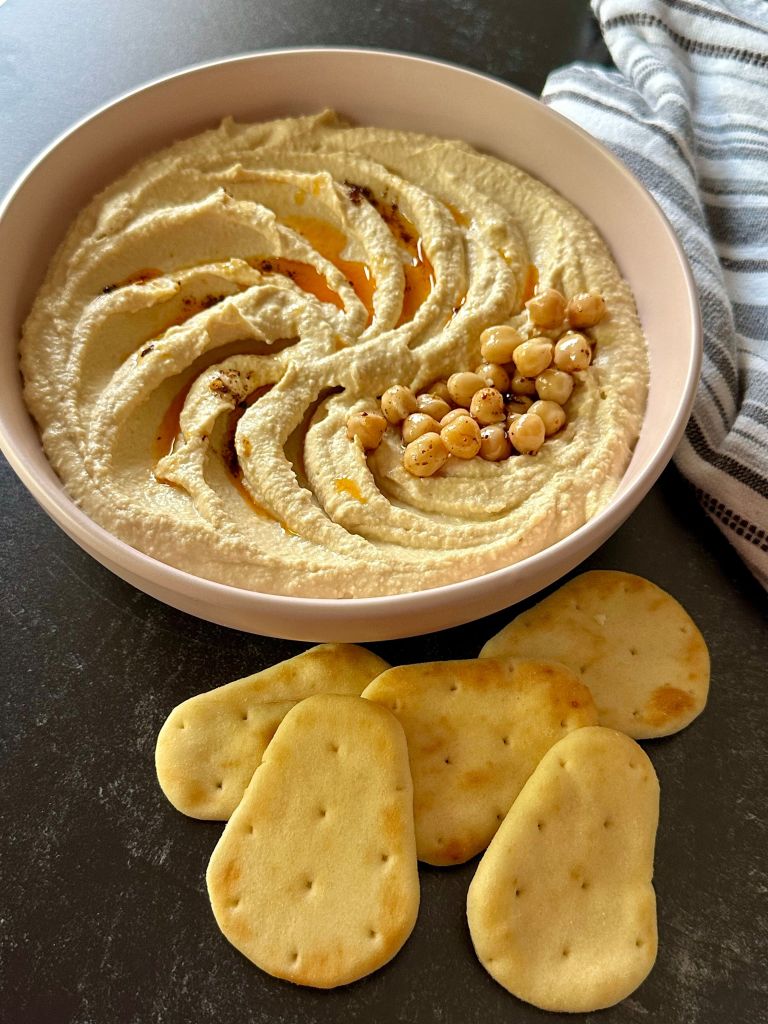
- toasted Khebez Arabi, mini Pita, sourdough, pickles, cucumbers, olives, roasted summer or winter veggies, vegetable crudités or crackers.
Chickpea Prep (Low-Fuss Method)
Note: I rinse and drain the tinned chickpeas well. It is recommended to peel them for smoothness, but I skipped that here. However, I recommend you go the extra mile and simmer them in a bit of water with a pinch of baking soda for 10-12 minutes, transfer the hot beans into a large bowl, then immerse them cold water, agitate the beans with your hands to release the skins. The loose skins will float to the surface where they can easily be discarded as you pour the water away, and refill with more cold water and repeat until most of the skins are gone, proceed with the recipe. Give it a final rinse to remove any soapy baking soda taste.
Note: Technically you are supposed to blend the tahini, lemon juice, and garlic first, it helps the tahini emulsify and makes the hummus extra airy and ultra-smooth, but I have been making hummus long enough to embrace my own shortcut. I blend the chickpeas first, and it still turns out rich, fluffy, and silky.
Instructions
- Dry the chickpeas well with a clean towel. Reserve 1 to 2 tablespoons for garnish and add the rest to the bowl of a large food processor fitted with the S-blade.
- Run the processor until the chickpeas break down into a thick, crumbly paste. Don’t rush this step, the smoother the base, the creamier your hummus.
- Add ⅓ cup good tahini, juice of 1 large lemon, 1-2 cloves garlic, ½ teaspoon ground cumin, and salt. Blend for about 1 minute, then stop and scrape down the sides.
- With the processor running, drizzle in ½ cup cold water or aquafaba, a little at a time.
- Toss in 1–2 ice cubes to help fluff it up. Keep blending for another 3–4 minutes, scraping down as needed. The mixture should turn light, creamy, and smooth.
- Do a taste test, and adjust lemon juice or salt.
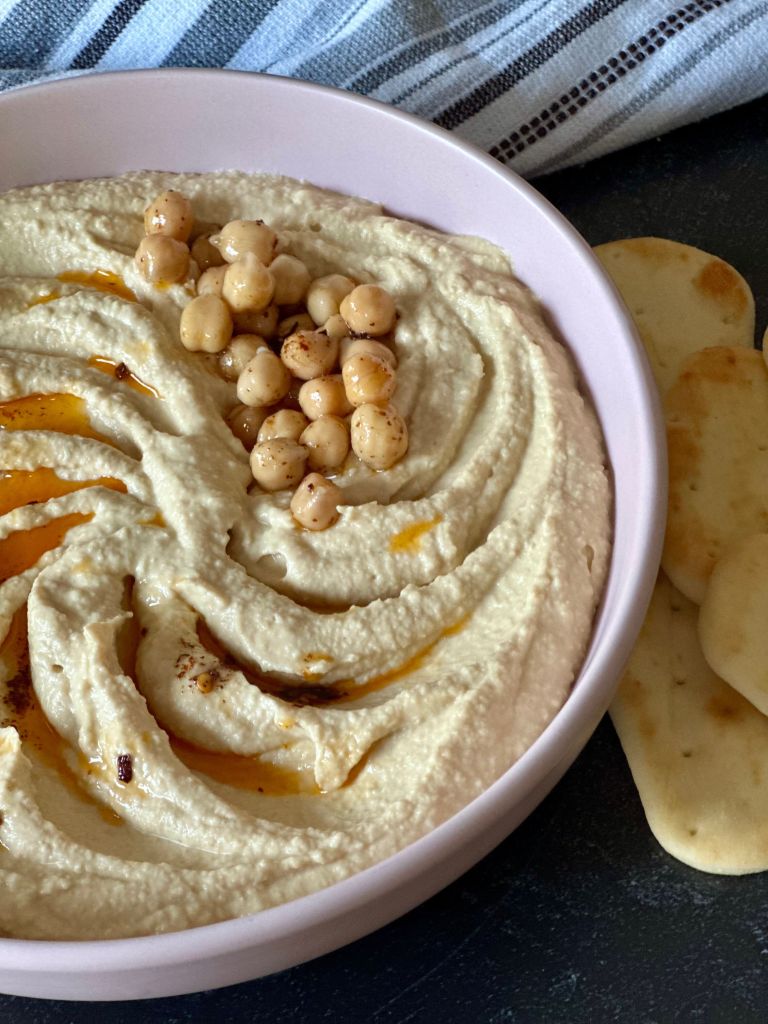
- Scoop the hummus into a bowl, make a little swoosh and valleys (because they catch the toppings beautifully).
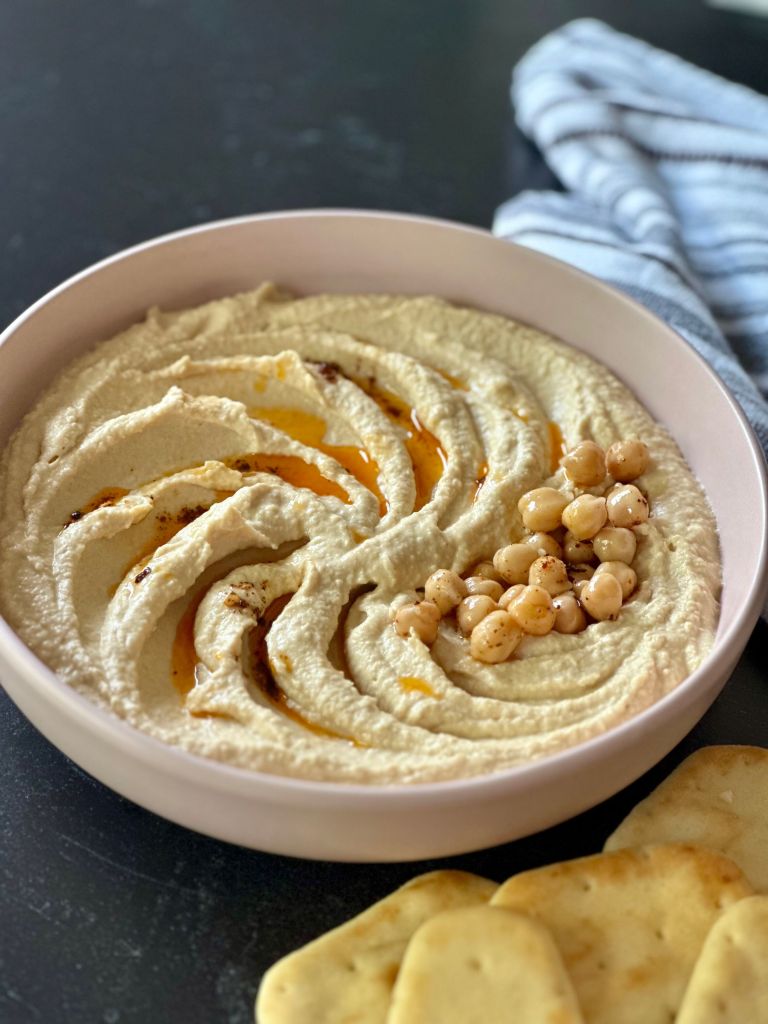
- Drizzle generously with chili oil, sprinkle with za’atar, and scatter the reserved chickpeas on top.
- Serve it with whatever you like — pita, toast, crackers, or veggie sticks.
Chili Oil
I love a drizzle of homemade chili oil on my hummus, it adds depth, heat, and a beautiful pop of color.
- ½ cup olive oil (just regular, not extra virgin)
- 2–3 tablespoons Aleppo pepper pr hot chili flakes
- ¼ teaspoon salt (optional)
- Heat the olive oil in a small pan over medium until it’s hot but not smoking to around 160°C / 320°F if you want to be exact.
- Drop in a few chili flakes, they should sizzle gently, not burn.
- Take the pan off the heat.
- Stir in the chili flakes and salt, and let it cool completely.
- Pour into a clean jar and store it at room temp or in the fridge.
- Drizzle over hummus, eggs, grilled veggies, dal, and even pizza.
Watch me make it Here!
Not into traditional hummus? Check out my bold, flavor-packed twists, from smoky roasted red pepper to beetroot, black olive, and even jalapeño. There’s something for every dip mood.
Roasted Red Pepper Hummus
Smoky, sweet, and a gorgeous sunset color.
Add to your base:
- Add 1 large roasted red bell pepper (jarred or homemade, skin removed).
- Blend until velvety.
Beet Hummus
Earthy, vibrant, and beautifully pink this one looks like it came from a fancy café.
Add to your base:
- 1 small cooked beet (roasted or boiled, peeled)
- A splash of extra lemon juice
How to make:
Chop up the beet and blend it right into the food processor with the rest of the ingredients. Adjust the salt and lemon to balance the natural sweetness of the beet.
Jalapeño Hummus
Spicy with a subtle kick. You control the heat!
Add to your base:
- 1–2 jalapeños, deseeded or not (depending on your heat tolerance)
How to make:
Chop the jalapeños and toss them in during the tahini/garlic/lemon step. If you love it fiery, leave the seeds in.
Black Olive Hummus
Savory, briny, and totally addictive.
Add to your base:
- ½ cup pitted Kalamata or black olives
- 1 teaspoon olive brine (yes, from the jar!)
How to make:
Blend the olives in with the chickpeas and tahini. Start with half, taste, and add more if you want it saltier. The olive brine boosts that punchy, briny flavor.
Black Bean & Cilantro Hummus
A mash-up of hummus and Mexican flavors, rich, earthy, and herby.
Add to your base:
- 1 cans black beans, drained and rinsed
- ½ teaspoon ground cumin
- Juice of 1 lime (instead of lemon)
- 1 clove garlic
- A handful of fresh cilantro
- Optional: 1 tablespoon tahini (not traditional here, but it helps with creaminess)
How to make:
Blend just like regular hummus, swapping 1 can of chickpeas for black beans. This version is delicious with tortilla chips or smeared into quesadillas or wraps.
Notes & Tips from My Kitchen
1. Boiling Chickpeas with Baking Soda for Creaminess To achieve that ultra-smooth texture, I simmer canned and drained chickpeas with water and a pinch of baking soda for about 12 minutes. This raises the pH of the water and helps soften them further and and helps the skin fall off, making the blending process easier and the hummus creamier. Don’t forget to rinse them very well afterwards to remove any residual, soapy baking soda flavor.
2. Ice Cubes: The Secret to Fluffy Hummus Adding a couple of ice cubes during blending introduces air into the mixture, resulting in a lighter, fluffier hummus. It’s a simple trick that makes a noticeable difference.
3. Quality Tahini Not all tahini is created equal, opt for a high-quality, fair trade and organic tahini.
4. Blend Longer Than You Think Patience pays off. Blending your hummus for at least 5-6 minutes ensures a silky-smooth consistency. Scrape down the sides of your food processor as needed to incorporate all ingredients evenly.
5. Adjusting Consistency If your hummus is too thick, gradually add cold water or aquafaba (the liquid from canned chickpeas) a tablespoon at a time until you reach your desired consistency. Chilled aquafaba works wonders.
If you try this recipe, I would love to hear how it turned out! Tag me or drop a comment below. Your hummus twists, flavor experiments, and serving ideas inspire me just as much as I hope this recipe inspires you.


Leave a comment