This is my no-fail recipe for A timeless classic Crème Caramel. a beautifully smooth and silky custard with a luscious caramel topping. Whether served in individual ramekins or as a large, show stopping centerpiece, My family loves this easy yet elegant dessert that can be prepared a day or two in advance—making it a perfect addition to any menu.
Crème Caramel, Custard Flan, Caramel Flan, or Chasni Wari Pudding—this beloved dessert has traveled across the globe, each region adding its own twist.
Its origins trace back to the Romans, who called it”fladon,” derived from the Old High German word“flado,” meaning “flat cake”, flan in Rome was originally a savory dish, made from meat or fish. With the addition of honey and a substitution of meat for eggs, the dish took on its familiar dessert form. While in England, they took the recipe in a completely different direction and made a pastry shell with an open-top filled with custard and sometimes mixed with nuts or fruit.
It wouldn’t be until it made its way into Spain where the signature caramel drizzle would be added. Once Spain brought the flan to Mexico, notes of coffee, coconut and chocolate were added taking the Latin cuisine by storm and flan became the iconic treat we know today, and as it made its way north into Mexico, in the 1930’s, Nestle picked it up, printed it on their cans, and distributed it all over Latin America. Despite regional variations, the core ingredients—eggs, cream, and sugar—have remained unchanged over time.
Ingredients
For the Custard:
- 3 cups evaporated milk (or whole milk—nothing less! Alternatively, use 2 cups evaporated milk + 1 cup whole milk)
- ½ cup granulated sugar
- 1½ teaspoon vanilla extract
- 4 eggs, room temperature
For the Caramel:
- 1 cup granulated sugar
- 6 tablespoons water
Instructions
Prepare the Caramel
- Preheat your oven to 350°F(175°C).
- In a medium saucepan, add the sugar and water- DO NOT STIR, rather Swirl the pan gently to help dissolve the sugar slightly.
- Over medium heat, allow the mixture to caramelize without stirring. Keep an eye on it—it should start to smell like caramel when it turns light brown.
- Swirl the pan gently and continue cooking until the caramel reaches a deep amber color (too light, and it will be overly sweet; too dark, and it may turn bitter).
- Immediately pour the caramel into ramekins or a loaf pan, swirling to coat the base evenly. Set aside.
Prepare the Custard
- Using the same saucepan (there is lots of caramel flavor leftover from caramelizing the sugar), heat the milk and sugar over medium heat until it reaches a simmering point.
- Remove from heat, add the vanilla extract, stir, and let it cool slightly.
- While the milk is cooling, crack 4 eggs into a blender and pulse slightly to beat the eggs.
- With the blender running on the lowest setting, slowly pour in the warm milk mixture through the feed tube. Gradually increase the speed and blend until smooth.
(Tip: Always pour warm milk into the eggs, not the other way around, to prevent curdling.)
Assemble & Bake
- Place the prepared ramekins or loaf pan into a large roasting pan.
- Pour the custard mixture over the caramel in the loaf pan/each ramekin, filling nearly to the top.
- Carefully pour hot water into the roasting pan, filling it halfway up the sides of the ramekins (bain-marie method for even cooking).
- Bake for approximately 1 hour or until the custard is just set.
Cool & Unmold
- Remove from the oven and transfer the ramekins to a cooling rack.
- Once cooled, refrigerate for at least 6 hours, ideally overnight.
- To unmold, run a sharp knife around the edges of the ramekin.
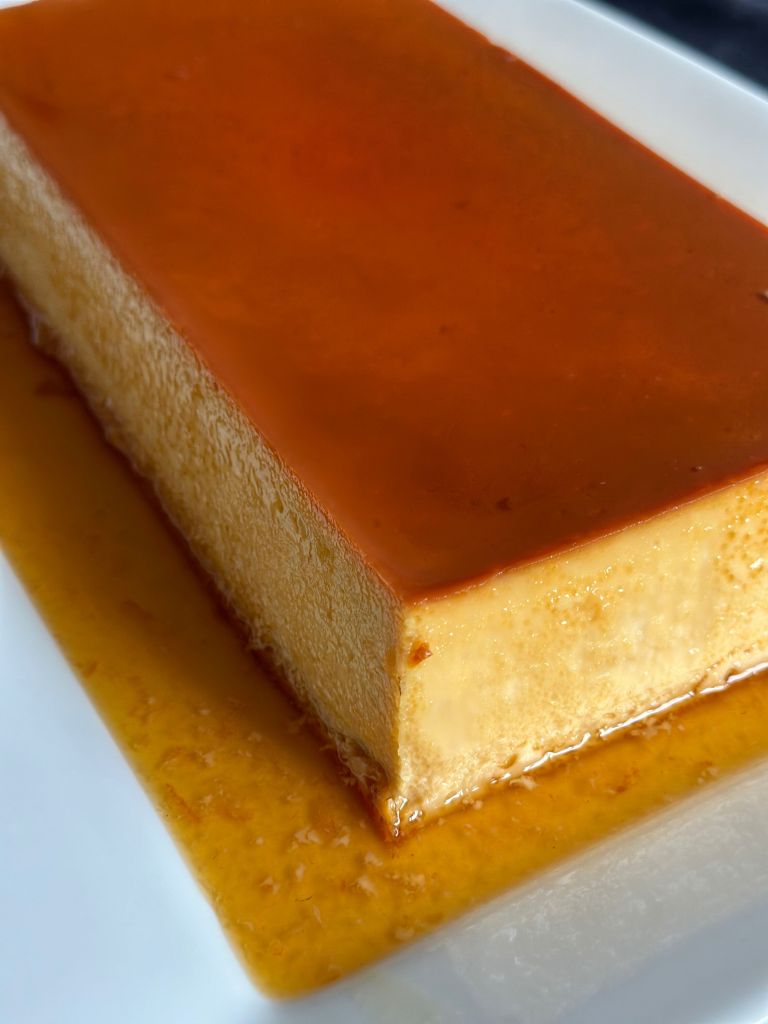
- Place a lipped plate over the ramekin(to catch the caramel sauce), then invert to release the custard with its caramel sauce. Pour any leftover caramel from the pan on the top. It’s completely normal to have a hardened layer of caramel left in the pan after unmolding.
- I recommend placing the ramekins in the roasting tin filled with boiling water for 1 minute before flipping.
Watch this video to see it come together:
Notes
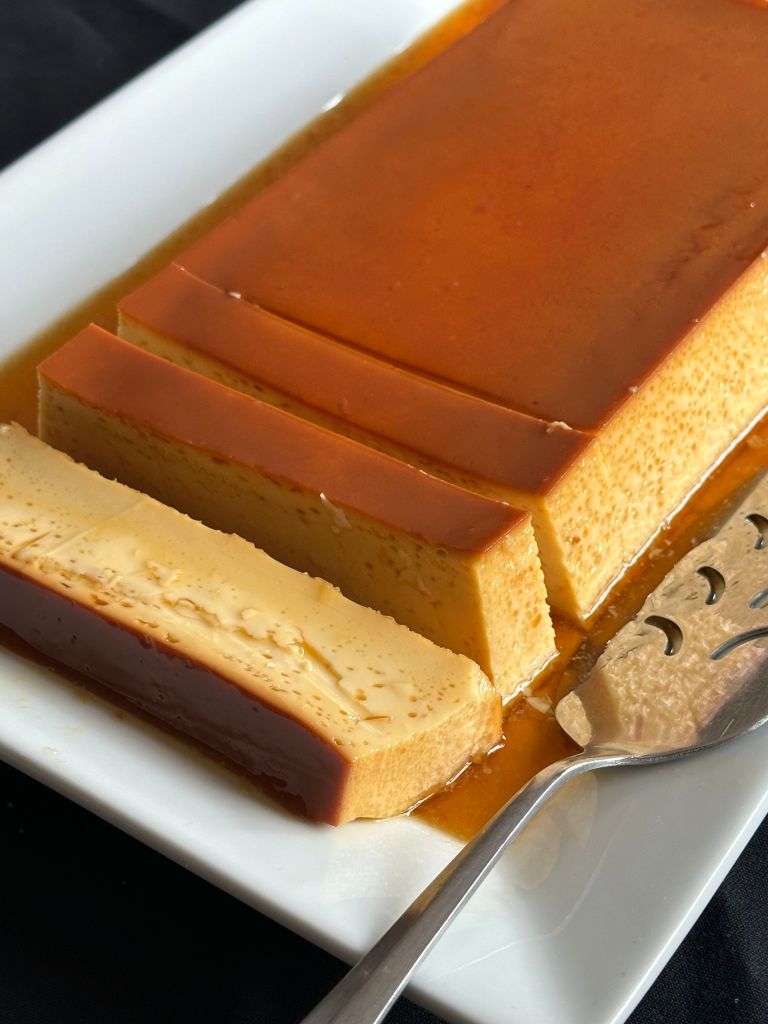
I like using a 9″x5″ loaf pan—it unmolds beautifully and makes for an elegant presentation. I usually get about 12 slices.
you can use a variety of pans depending on how you want to present it. Here are some great options:
Ramekins (4–6 oz.) – Perfect for individual servings and easy portioning.
8″ or 9″ Round Cake Pan – Creates a classic, elegant flan with a smooth caramel top.
Bundt Pan – A unique way to present crème caramel for special occasions, fill the center with berries.
Glass or Ceramic Baking Dish – Works well for a more rustic, scoop-and-serve style.
Regardless of the pan, always use a water bath (bain-marie) to ensure even cooking and a silky texture!
Use room temperature eggs—this helps prevent the shock of the warm milk from scrambling them, ensuring a smooth and silky custard
When is Flan Ready?
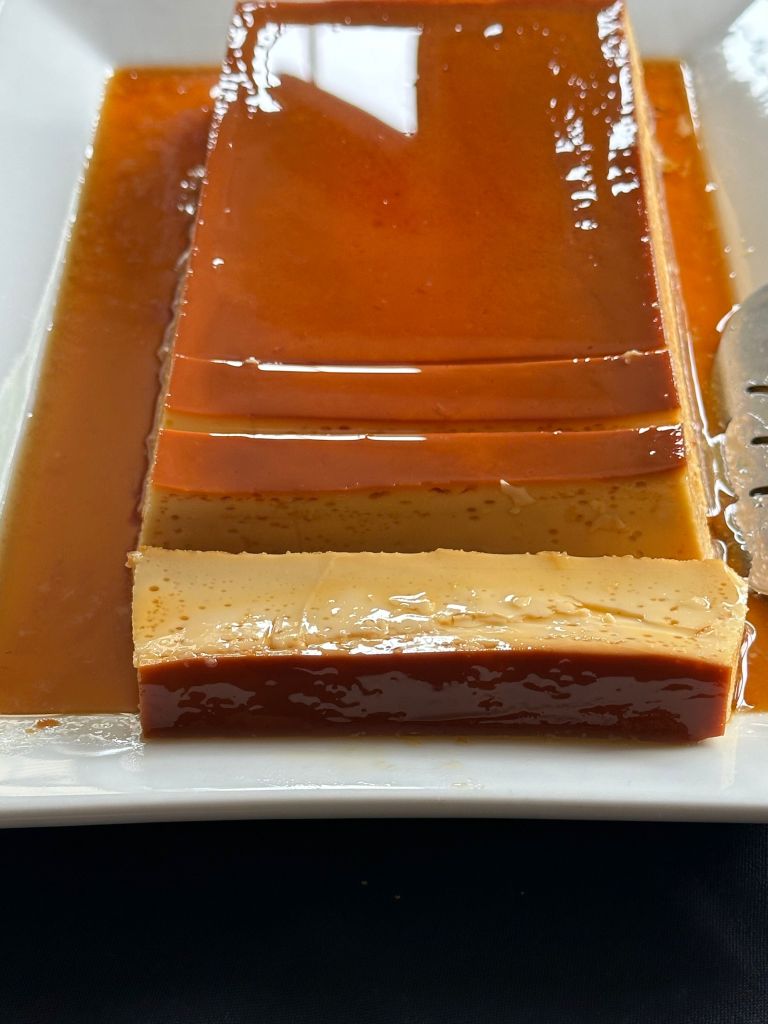
The Flan is cooked when the outside is fully set and the center has a slight jiggle. if the custard does not seem totally set, dont panic, and over bake! After cooling and setting in the fridge overnight the custard will firm up.
Did you make this recipe?
Feel free to stop by on Instagram and say hello and share a photo! I can’t wait to see what you’ve made!


Leave a comment